Documentation Mercado Libre
Check out all the necessary information about APIs Mercado Libre.
Documentation
Manage an application IPs
Manage IP ranges
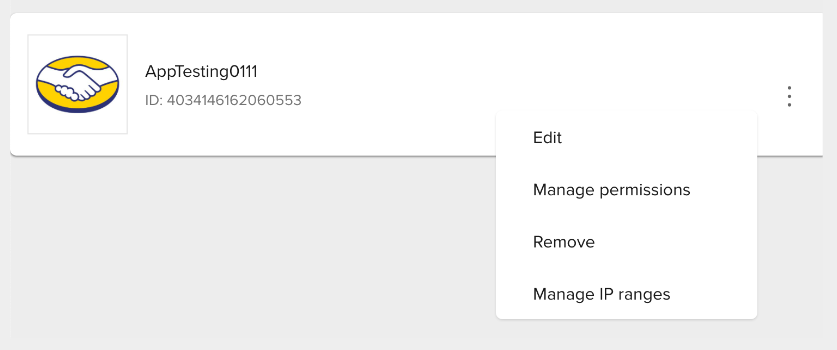
To access the applications, the administrator user must be logged in to the devcenter. For each integrated application, you will find a drop-down menu, where the Manage IP ranges option will be displayed.
List of ranges
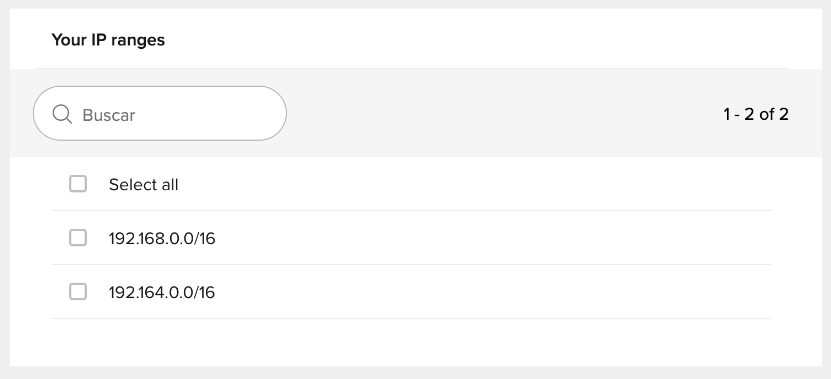
At the bottom of the screen, a list of the IPs configured in the application is displayed. In the search bar you can type the range you want to find in a faster way:
Add new IPs
On the right side of the screen the amount of IPs that were added for the application and the number of available IPs are displayed. If you still have ranges available, the section to add a new IP will be enabled.
There are two ways to add new IPs:
- Adding the IP individually.
- Massively, by uploading a file with .csv extension with the list of IPs to be added.
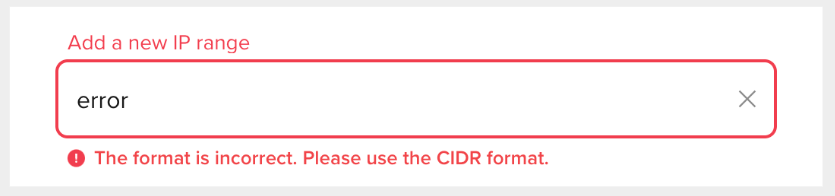
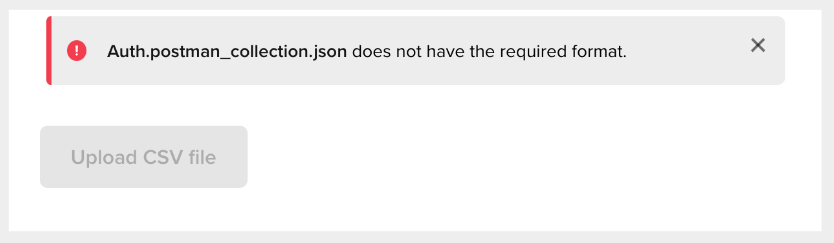
- Only IPs v4 or v6 in CIDR format (Classles inter-domain routing) are allowed, an error message is displayed when the format is not correct:
- A validation of the number of IP ranges available in both the individual and mass process is performed.
- The file must have a .csv extension. An error will be displayed if it does not match this condition:
- The file must not contain headers.
- Each IP range must be separated by a comma ( , ).
- Each IP must have the correct format or it will not be taken in count in the massive upload.

Considerations:
Adding the IP individually
It is necessary to type the new IP you want to add, if you do not have any formatting error you can click on the Add button.
An error or success message will be displayed depending on the result of the process:


Massive upload of IPs
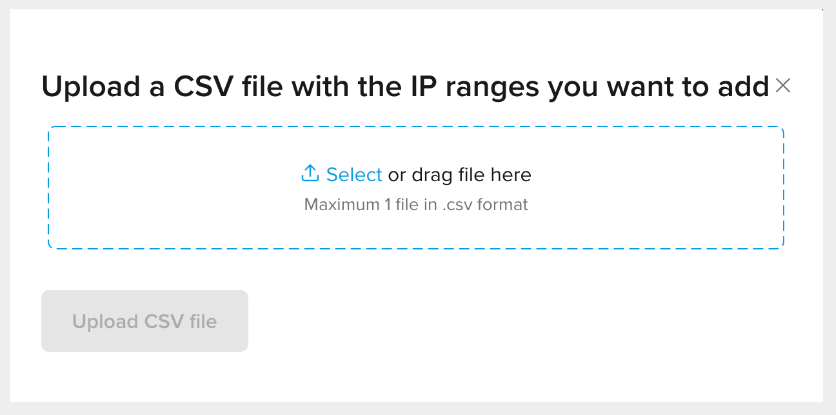
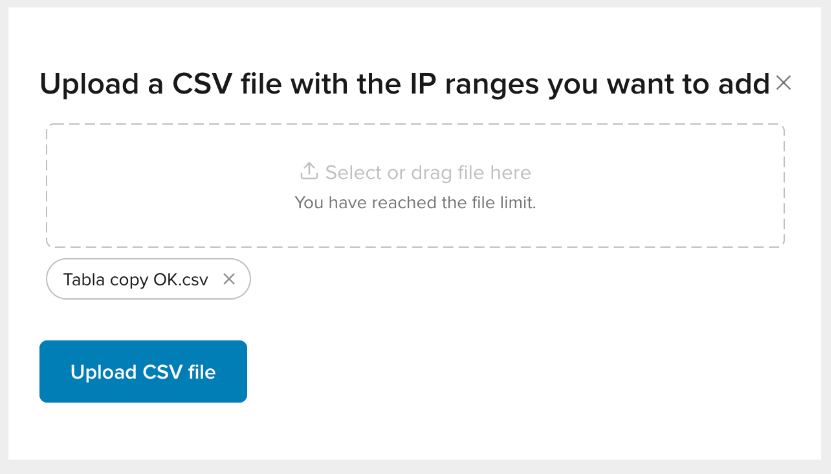
To add several IP ranges at the same time, it is necessary to click on the Attach .CSV button.
A modal where the user will upload the file will open:
Considerations:
Example of file to be uploaded:
Name: test.csv
Content:
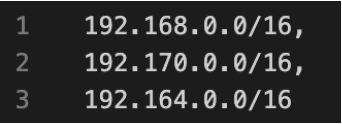
Once the file is attached, click on the Upload CSV file button.
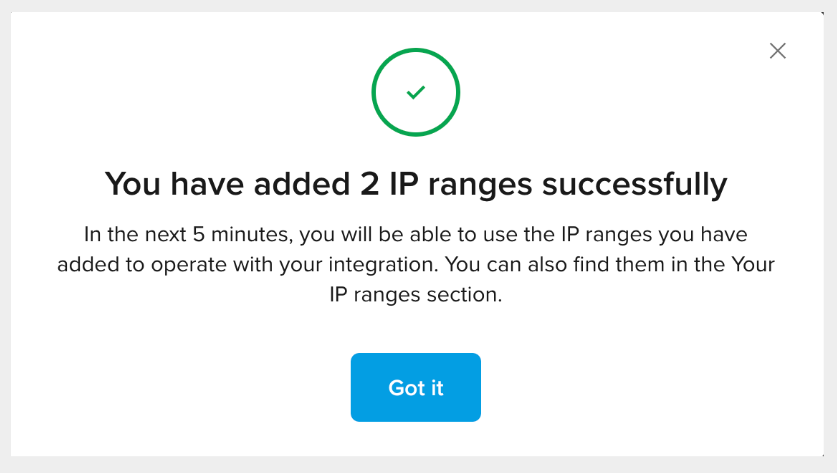
The system will display an error or success message depending on the result of the process.
Success message: it will be displayed when all IP ranges in the file were successfully uploaded.
Error message: it will be displayed when the addition of all or some range failed. Either due to register formatting or range overlapping error.
The modal will display the number of ranges that were successfully added and the number of ranges that failed.
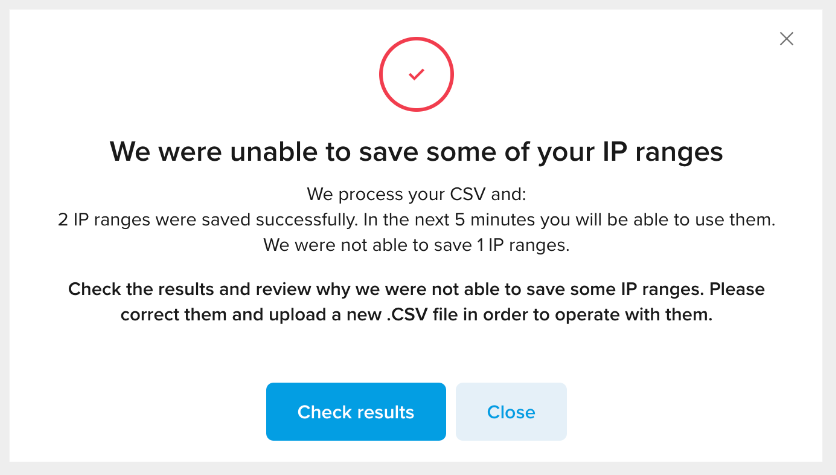
It is the option of clicking on the Check results button where a file with .csv extension will be downloaded with the information of the registers that could not be added and a description of the error. In this way, the user can visualize the errors, correct them and try to perform the massive upload again with the missing ranges.

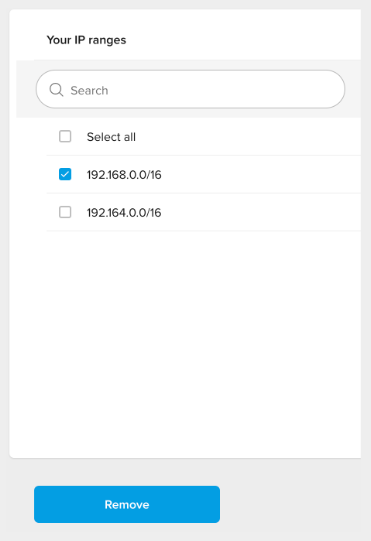
Remove IP ranges
To delete a range, simply click on the Select all option if you wish to delete all the parameterized ranges or select only those that you wish to delete.
Then click on the Remove button.
A warning modal will be displayed to confirm the execution of the process.

Finally, an error or success message will be displayed depending on the result of the deletion of the corresponding ranges.